Showing posts with label Microwave Basics. Show all posts

Friday, December 23, 2011

How to make Rusk | How To Make Bread Crumbs | Microwave Method

We are starting the second group in the Blogging Marathon edition 11. It's been one exciting week in the first part and hoping it will continue the same.

For the second week, I chose the Mix n Match theme wit Preps and Preserves with Bihari special dishes. I must say I have enjoyed making Thekua and so Bihari dishes are great to make and enjoy a new cuisine.

Coming to today's post it's all about making rusk and Bread crumbs at home. Rusk is great to simply eat and coming to bread crumbs, you will surely need it when you got to make cutlets and Tikkis.

Though normally one gets to making the bread crumbs from stale bread, it is advisable not to use a very stale bread. At the most it can be a day's old or best is to use fresh bread.

How to make Rusk:

Rusk is double baked bread. For this you can bake your own bread and again bake the baked bread or you can use store bought bread. Anything works fine.
 
If you like the sides as I do, simply microwave the slices for 1 min and the turn and again microwave for 1 min. Slices that are little thick needs a little longer, but the bread tends to get crispy after cooling down. So don't fear seeing that the bread is still soft after removing from microwave.


How to make Bread Crumbs:

As I said for the Rusk, stale bread is not usually advisable, though the best way to use one day old bread is to make it into crumbs for coating cutlets etc.

I basically make two ways of bread crumbs, one for binding, another for coating or breading.

When you need something to bind your food like cutlet, patties, or even ground meat, you can opt for potatoes or fresh bread crumbs. In such situations, you simply pulse the bread in your food processor or mixer and you get a fine crumb, though very soft to touch.

This helps in binding the food to be shallow fried or deep fried.

The other process that requires bread crumbs, is to coat or breading the food such as fish fingers, cutlet outer layer etc.

In this process you will need a crisp crumbs and for this you can microwave the bread and grind it to get small pieces.

Cutlets are dipped in eggs or all purpose flour and then pressed over crispy bread crumbs for an overall coating and then fried.

Sending this to Kavi, who is hosting my MEC this month and she is accepting all dishes made in microwave.


Check out the Blogging Marathon page for the other Blogging Marathoners doing BM# 11

Sunday, November 20, 2011

How to Store Curry Leaves? | Preserve Curry Leaves / Kadi Patta as powder | Step by Step Pictures

On Sunday we had our customary vegetable shopping done. I found huge load of curry leaves and wanted to make different podis, and also store them for everyday cooking. Storing Fresh Curry Leaves fresh is a task sometimes, but if you plan and clean it properly it can stay fresh for over a month. 
Sunday is mostly spent cleaning and prepping the vegetables. But it's worth the pains.

I store coriander leaves the similar way, though the second method used for curry leaves may not work for coriander leaves.


How to store Curry Leaves in Fridge fresh - Step by Step pictures

 Fresh batch from the market
Wash and rise in running water and let it drain in a colander.
After 30 mins, the water is almost drained.
 Dry the curry leaves on a towel under fan.
Warp around and make sure the leaves are very dry.
 Take a dry box, place a paper at the bottom. Remove all the leaves from the stem and drop into the box.
When you are done, cover with another paper and close with the lid and refrigerate. When required you can just use it without bothering to wash.

The other tips to Store Curry Leaves, the second way to store the curry leaves would be to make a powder of them fresh and store in an air tight container.

This can be simply done in a microwave for 3 - 4 mins depending on your microwave. The first time I did, I had to experiment. So I started with 30 secs, another 30 secs,1 mins, 2 mis. So looks like finally after 4 mins the curry leaves were crisp that you could just crush them in hand and store.

Once the curry leaves are dry, remove the leaves from stem, take them in a mw safe plate, mw for 30 secs
Then for another 2 mins, depending on your mw
 This is after 2.30 secs
This is the final powder that you get, it can be stored and used in sambar, gravies. Just add a small pinch for not altering the taste, yet including the goodness of curry leaves.

Can be used in takda of chutneys, dals etc.

Sending these quick basics made in Microwave to Vatsala, who is hosting this month's Microwave Easy Cooking Event.

Check out the Blogging Marathon page for the other Blogging Marathoners doing BM#10

Saturday, November 19, 2011

How to make Chilli Flakes | How to roast peanuts in Microwave | Microwave Basics

One of the main attraction in eating a pizza will surely be sprinkling those chilli flakes on the top. Nothing beats that I tell you! Which reminds me that it's been a while since I actually ate at the Pizza Hut. My favorite has always been the Amritsari Punjabi Tikka Pizza and I sprinkle a good helping of Chilli Flakes on the top. There is that something elusive that evades us from recognizing what it is, however I satisfy myself saying it's ultimate would be the dose of Chilli flakes on the top. Trust me, it used to be HOT! 

Every time we ordered in pizza, I used to save those sachets of chilli flakes that accompany the pizzas. Though finally when I do make the pizza at home, I would search endlessly for those sachets and not end them anyway. Some of the wonderful things I learnt from Athamma would be those short cuts she follows in the actual cooking. She is a lady of many talents when it comes to quick cooking with loads of innovation involved. Of the many such tricks was this ground Dry Red chillis, she always has at hand. 
When I think of it, it's nothing but Chilli flakes, though it's ground a wee bit fine. She followed the traditional methods of sun drying during summers and dry roasting during winters. Would you believe Microwave is a God sent? Really all it took me was just 30 secs to get it roasted. When you dry roast it, you have the possibility of getting everybody out of the house with the fumes that come out. Using a microwave only you get to face it.


Took handful of Dry Red chillis and microwaved for 30 secs.

Do you notice how they are bloated out? Couple of the chillies were soft, so I took just them out and again mw for 10 secs.
Allow to cool for couple of minutes. Then pulse them in a mixer for couple of times.
Make sure you don't run it more than 3 -4 times, check and remove if the big ones don't get ground well.
After the second round. everything was ground to almost equal size.
We have this always stocked at home. You can use this for sprinkling on Pizzas. Spicing up Tomato Chutneys, spicing up Stir fries as I did in Snakegourd Stir Fry. Options are many.

Roasting Peanuts / Ground nuts in Microwave:

Recently when I had visited Amma's younger sister, she wanted me to show her how her Microwave works. She has been having it for a while, yet she hardly uses it other than roasting peanuts. Now as you know Peanuts / Groundnuts are used almost everyday at my home. So we always have a big dabba filled with roasted groundnuts. 

However it never struck me odd that I have not used it for roasting peanuts. I have known about it since the beginning and I have even made the Masala Peanuts. Still it was an accepted thing that roasting the peanuts over kadai gets you the best results. Rather it was a habit that was preventing us from using the microwave for this purpose. After seeing how well it turned out at my Aunt's place, I knew there was going to be no more Kadai at home for roasting. 

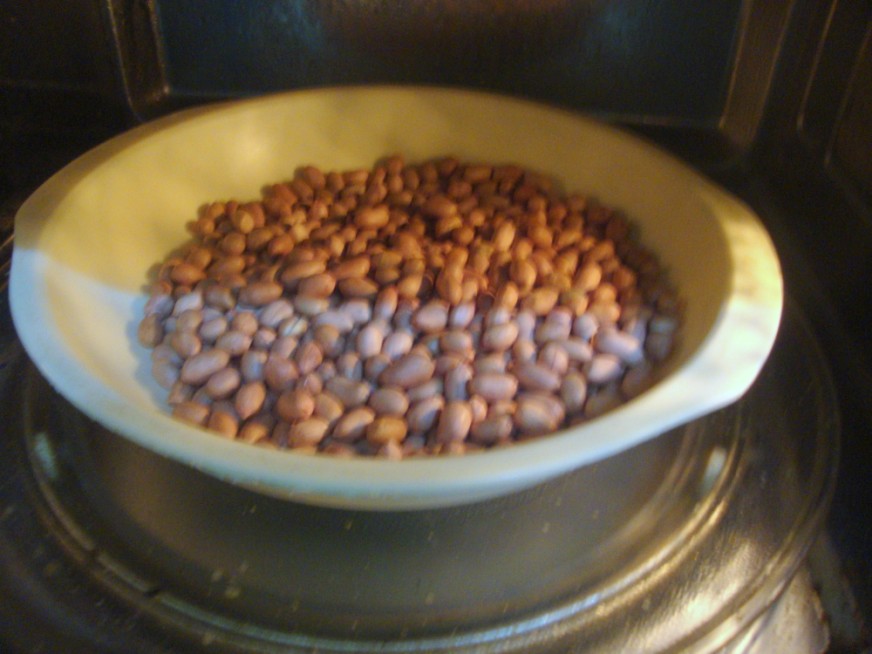
Roasting Time for Peanuts in Microwave - 4 -6 mins, depending on your mw and the nuts. After 4 mins, it was done for me. Though once it turned crispy only after 6 mins


Pick and take the peanuts in a microwave safe plate. Microwave for 4 mins. At 2 mins interval, stop and shake the nuts for making sure the peanuts are roasted on all sides. Once 4 mins is done, remove and allow to cool. Within minutes you will know if it needs more roasting, so based on that either continue or stop.

Even since I realized this method, it's become such an everyday affair.

Sending these quick basics made in Microwave to Vatsala, who is hosting this month's Microwave Easy Cooking Event.

Check out the Blogging Marathon page for the other Blogging Marathoners doing BM#10