Showing posts with label Deepavali Sweets. Show all posts

Saturday, January 14, 2012

Pathir Pheni ~ Karnataka Special | How to make Pathir Peni / Chiroti Step By Step Recipe | Indian Cooking Challenge for December

For this month's Indian Cooking Challenge, I was still undecided when the thought struck me that I could travel south this month. I was waiting to catch someone online to get them refer some recipe and just then Harini came online. So I immediately pinged her to share some recipe that she learnt from her Mom. She said her granny has been after her to make these Pheni.

Since I had to cite the state of origin, I pinged her again to verify and she this recipe could very well originated from Karnataka, as Harini says that her my grandma has origins from Bellary and could have come from that part of her heritage. However I have read about this recipe in Meenakshi Amma's Cook and See book. So this might have been a common sweet among the south states. As this is also called as chiroti.

Then I searched Pheni as a single word brings up something else. This recipe is called Pathir Pheni.

I want to begin the new year with a sweet tone!
I was discussing this with Amma. Just around the first weekend of every month I would discuss the ICC recipe with both Amma and Athamma. I mostly expect them to come out with some thought processes for me to proceed further. During Deepavali, Amma was mentioning that she got Chiroti Rava by mistake for making Rava Laddos and they simply won't hold their shape. So when I was saying that these Pathir Peni were also referred as Chirotis, she assumed that I would get that Chiroti rava for making. 

I completely forgot that Harini had updated that if we should use the Chiroti rava if using Rava. I tried it out on a Sunday and let it resting for more than 2 hours. The dough was so stiff after the stipulated hour. I had to add more water and knead again to get a soft dough. Covered it again and forgot about it for almost more than an hour, as I was busy baking chocolate cakes for the kids.

It was such an exerting day and I sent across Amma's share. Since it was made at late night, I completely forgot to get Hubby dear taste this. So it was so funny when he got to taste this at Amma's place and asked from which shop she got it. Naturally you can imagine what that feedback means. I was really happy that though what started as tough, ended up so well!.

I would really want to thank Harini for sharing her granny's recipe for us to enjoy!

Pathir Pheni / Chiroti

How to Make Pathir Pheni Step by Step Picture
Measure 1 cup of rava, since I was using the regular rava, I tried running it in a mixer, still it was very grainy.
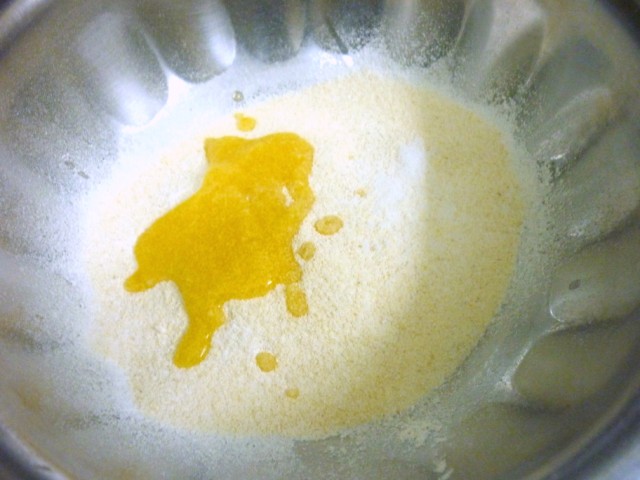
Add ghee
Crumble well together
Slowly add water and knead to a soft dough.
Cover with a wet muslin cloth and let it rest for at least an hour. I left it for more than 2 hrs because I used regular rava.
After 1 & 1/2 hours
Rice flour and ghee paste.
Knead well before rolling out.
Pinch out into small balls numbering to 5.
Keep them aside
Spread the paste on one side of the rolled out discs.
Place one over the other on a pile.
Pat well
Continue on the top also
Start folding from the end next to you towards opposite side.
Fold completely till you reach the end.
You will get a roll like the above. Roll again so that the layers stick to each other.
Cut into 1 inch pieces.
Gently press over the top of each piece. Keep them all ready for deep frying.
Second method of rolling in the sheets.
In the second method of folding, you can leave some space from the first disc and continue like the above.
In the end, roll very tightly again and pat on the sides. This method gave me a very even ends
Once the oil is hot, deep fry on both sides.
All fried and ready to be sprinkled with icing sugar/ powdered sugar!

Pathir Pheni | Chiroti

Ingredients Needed

For the dough

Pheni Rava / Fine semolina / Chiroti Rava - 1 cup 
Ghee 2 tsp
Water to knead the dough
Salt a pinch
Oil for Deep frying 

For the Rice Paste:

Rice Flour 2 tsp
Ghee 2 tsp

How to make Pathir Pheni

In a wide bowl, add the rava, salt ghee (in solid form) and crumble well. Then slowly add water and knead to a soft dough.
Note that the dough needs to be softer than the regular chapati/puri dough.
Cover with a muslin cloth and set aside for a minimum of 1 hour. The more the resting time the better the quality of the phenis.

In a smaller bowl, whisk the solid ghee and rice flour until they form a smooth paste.

Check in between and knead again to get a soft dough. 

Knead again and pinch out 5 balls of the dough and roll out thin puris out of each of those and cover them until later. 

On each rolled out puri, apply the rice flour-ghee paste and layer them one on top of another. Here the number of puris used for layering are 5. Use less or more depending on your preference keeping the minimum to atleast 3 puris.

Roll the layered puris into a tight log. Keep applying the rice flour-ghee paste as you keep rolling as well. Tuck the ends securely. 

Cut the log into 1 inch pieces and roll out each piece into a thin puri and keep them covered until ready to be fried.

Meanwhile, heat oil on low-medium flame. Fry each of the puris taking care that they don't change color. 

Drain on kitchen towel and sprinkle fine sugar over the top.

Notes

Since the rava I used was the regular one, I tried grinding it but it was of no use. So I kneaded as such. So it took me almost 2 + hrs for the dough to be soft. 

Still if you are not able to find Chiroti rava and could grind the regular rava, you can go ahead. grind the normal rava and sieve to get a finer consistency)

Traditionally Ghee is used for frying. But regular cooking oil is also fine.

I suppose it's important to make sure the color of the puris remain as white as possible.

And Harini also says these can be stored in an air tight containers upon cooling.

Serving suggestion - Sprinkle powdered sugar and serve it along with Badam (Almond) milk.
Optionally they are dunked in sugar syrup and served as is.

I got about 10 puris exactly, making sure all are of equal size. we found the powdered sugar on top tasted great. I can imagine how the sugar dunked ones might taste.

This is yet another traditional recipe that came out well.

To all my ICC members, please link your Pathir Pheni post to Mr. Linky. 


Saturday, October 29, 2011

Shahi Tukra Recipe | How to make Shahi Tukda | Step by Step Recipe | Cooking with leftovers

Shahi Tukra must be one of those dishes that I have been forever reading about and wanting to make. I guess almost ever since I started baking some 15 years ago. That's when I first started using Milkmaid and along with it I got it's recipe book that has such pretty food pictures. I used to literally drool over them and I have almost made of them till date. Except for few like this delicious Shahi Tukra. On reading it, I realized it sounds very much like the Bread Halwa that we make, of course with a major change that alters the entire taste.

Looks like I had to wait for an eternity to finally make this dish. As with all BM's I have been so without any ideas on both the themes I did this edition. However when compared with the first week, I knew I will be able to make the second week where I am supposed to dress up a leftover with new avatar! Imagine making something to become leftover and then creating this dish. I confess on few occasion, it was more of an idea than the actual dish being a leftover. But then I guess it's all fair in blog and war, if I may to borrow and change the cliche!


Coming back to the Shahi Tukra, do I have to say that Konda loved it? I almost thought that she was just giving me those expressions just to please. You never know right, just so that I confirmed with Hubby dear on the taste and he said the dish did match her ecstatic expression. I was happy hearing that naturally. And know that this is something that will be featured more often.

In spite of this being a rich and creamy dessert, I wanted to make sure I reduced and modified something in this. The bread is supposed to be deep fried. I wanted to avoid and shallow fried it. I seriously don't know how much of a taste that must change, but presume it to be a small bit when you consider the amount of calories it must otherwise give you.

And to make sure I fit the theme, I used leftover bread. I pinged Harini to confess if she was okay with me using a leftover bread. She was and that's the reason why you get to read about this Shahi tukda and drool over it.


Step by Step picture Recipe


Shahi Tukra Recipe | Shahi Tukda

Ingredients Needed:

For the bread

Bread slices - 4
Ghee - 2 tsp
Oil - 2 tsp

For the Cream Sauce

Condensed Milk - 1/2 cup or 4 tsp
Milk - 1/2 cup, more if you want
Corn flour - 1 & 1/2 tsp
Cardamom powder a pinch

For the Sugar Syrup

Sugar - 1/2 cup
Water enough to cover the sugar

Almonds and Pistachios, finely chopped for garnish.

How to make Shahi Tukra / Shahi Tukda

For the Cream Sauce:

In a bowl, take the corn flour and add 2 tsp of milk and blend well to form lump less liquid. Keep it aside.

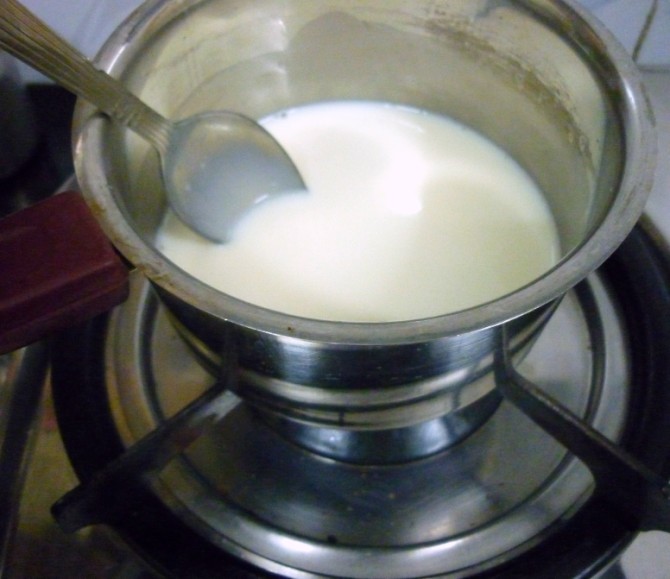
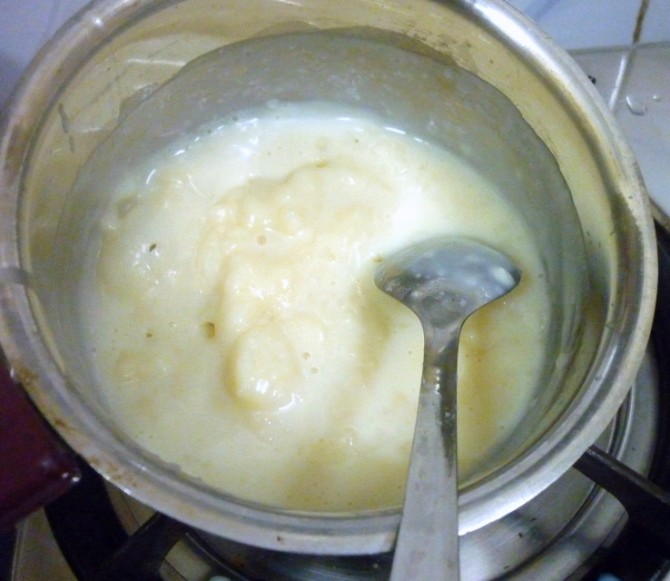
In a pan take the condensed milk and add the rest of the milk. Bring to boil. When it starts to boil, simmer and slowly add the corn flour mix. It will thicken very fast so keep stirring constantly.

This takes only about 2 mins or so, you will have a thick mix in the pan. If required thinner the cream by adding more milk or condensed milk. Else keep it aside.

Notes: One way to get that creamy texture is to pulse this condensed paste in mixer for a smooth paste.

For the bread:

Trim the sides and cut into two or four squares depending on how you want to serve.

If you are going to shallow fry, then heat a pan add 1 tsp of ghee and oil. Once it's hot, place all the bread pieces and fry over slow flame. After couple of minutes, sprinkle the rest of the ghee and oil. Flip to the other side.

If you are going to deep fry, take a kadai with little oil and heat. When it's hot, deep fry the bread pieces in batches. You will have to add more oil/ghee as you finish up the whole lot as the bread will dunk more oil/ghee.

Deep frying will make the bread to be very crisp, while the shallow frying will take longer time to become hard.

Once done, remove and keep it aside.

For the Sugar Syrup

In a pan, take the sugar and water, bring to boil. Remove impurities if any.

Continue boiling till you get a sticky syrup which will be 1 thread consistency. Switch off the flame and remove.

Dip the fried bread into the sugar syrup and remove to a plate. When you are done with all the bread pieces, arrange in a plate.

Scoop a spoonful of condensed milk cream on each bread piece and garnish with finely chopped almond and pistas.

Serve hot or chilled.

These will make a great dessert for a party both for adults and kids as well!

If you want to make this a rich affair then you really won't be able to indulge in this frequently. I think this low fat, low calorie will suit all our requirement!

Sending this to Harini who is hosting Kid's Delight, themed on Dressing up Leftovers for Kids

With this we are done with the Blogging Marathon Edition #9

I did Indian Festival Food with Step by Step pictures for the first week
And the theme "Dressing up Leftovers for Kids" for the second week.
Hope you enjoyed reading these as I had enjoyed making them.


Check out the Blogging Marathon page for the other Blogging Marathoners doing BM#9

Friday, October 21, 2011

Besan Ki Burfi | How to make Besan Ki Barfi in Microwave | Diwali Sweets | Step by Step Recipe

Besan Ki Burfi can be simply referred as Mysore Pak. However something made google and I came to learn lot more than I expected. In gujarati, it's also called Magas. And the way it is prepared is little different. Same measurement, yet a different method and you arrive at a different textured sweet.

In Mysore Pak also you get two different versions. One the ghee dipping version and the other version that has a honeycomb texture, which actually uses less ghee than the first one. I have made both versions of Mysore pak last year. So I wasn't planning on making another this year.

Yet for the last day of Blogging Marathon, special on Indian Sweets, I came upon this recipe that went by the name Chana dal Burfi / Besan Ki Burfi. Reading through the recipe I realized the ingredients and measurement were different. So I decided I might as well make it and moreover in microwave as I always felt cooking Besan in microwave is pretty easy.

Of course, I had to time it very carefully as my first attempt in making Almond Katli ended up with a burnt one for the first batch. So there I was, popping it and pulling it out every other min, making sure I caught it right. As you know cooking in microwave, takes very less time. So I was making sure I calculate the time correctly.

Besan is also referred as Channa Dal powder. As I had said earlier, Burfi / Barfi is a sweet in fudge form and not that loose form that gets to be called Halwa. Same ingredients and measurements. Cooking time differs to get a different sweet altogether.

Check out How to make Mysore Pak

Step by Step Picture Recipe


Besan Ki Burfi / Barfi

Ingredients Needed:

Besan / Channa Dal - 1 cup
Milk powder - 1 cup
Ghee - 1 cup
Sugar - 1 & 1/2 cup
Water - 2 cups
Roasted nuts for garnish

Microwave safe bowls.


How to make Besan Ki Burfi

Microwave the ghee for a min.

Mix in Besan and roast for 2 mins. Stir the mix in between a min. Once done, remove and mix in the milk powder. Set it aside.

In another microwave safe bowl, add sugar and water. Micro for 3 mins. Once the sugar melts, strain it to remove impurities if any. Then again micro for 3- 4 mins. You will see the syrup all thick and can form one thread consistency.

Remove and pour this syrup into the besan- milk powder mix and combine everything well. Microwave for 2 mins.

After a minute, you will notice the mix all coming up frothy. Beat it up well and again micro for another minute.

You will know it's done, when you notice the mix sliding away from bottom. If required micro for another 30 secs.

Remove, beat well and pour into a greased plate. Allow it to cool, cut into pieces.

Garnish with nuts on top.


Notes: From what I read, for making Magas, the sugar is not melted but added as such for it to set. I guess that will give it's a grainy texture. In this microwave method, however the sugar was completely melted.

Sending this to the following events:

Pradnya who is hosting the October Edition of MEC

Suma, who is hosting my favorite event MLLA# 40, an event started by Susan

Gayathri  who is hosting 'Only'- Sweets and Desserts, an event started by Pari
Serve it - Festival Potluck hosted by Krithi and Danny