Cauliflower is in season right now and one can see piles of cauliflowers on the road side hawkers selling these. It's such a beautiful sight seeing those huge flowers, all white and green, piled on each other. It literally begs to be bought. Many a time I think I should carry my camera just to capture the scene but fail to do that.

 Gobi Matar
Adapted from here
Ingredients Needed:
Gobi / Cauliflower, florets - 2 cups
Fresh Peas - 1 cup
Onions, finely chopped - 2 medium
Tomato, finely chopped - 2 medium
Ginger Garlic Paste - 3/4 tsp
Cooking Oil - 2 tsp
Coriander leaves for garnish
Turmeric powder a pinch
Garam Masala Powder - 1/2 tsp
Red chilli powder - 1 tsp
Cumin powder - 1 tsp
Bay leaf - 1
Salt to Taste
Ghee - 1 tsp
 How to make Gobi Matar
 Notes
Notes
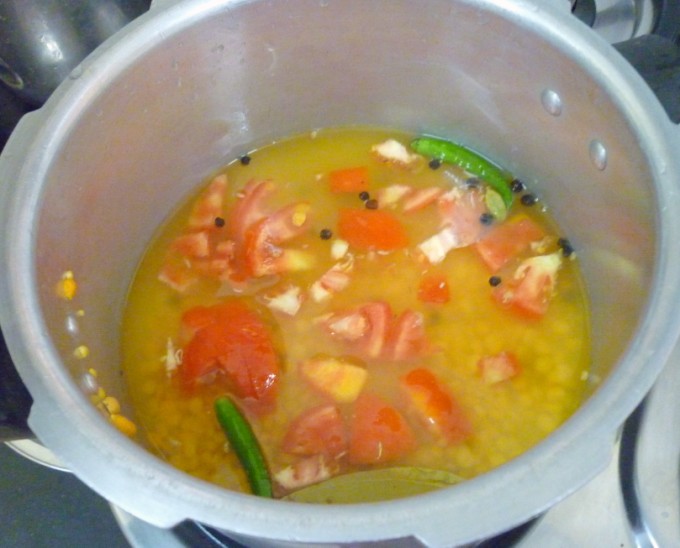
If you are running short of time, you can pressure cook the dish.
Potatoes can be added along or just with matar.
Update: Sending this to Priya's Cooking with Seeds Event, featuring Peas
Check out the Blogging Marathon page for the other Blogging Marathoners doing BM# 11
When I decided to make Bihari dishes, I checked if they have a gobi recipe listed. Though there were other recipes, none that suited me for making for lunch or for rotis. Then I came across this Aaloo Matar that I wanted to make and decided to replace the aloo with gobi, so we ended with Gobi matar.


Adapted from here
Ingredients Needed:
Gobi / Cauliflower, florets - 2 cups
Fresh Peas - 1 cup
Onions, finely chopped - 2 medium
Tomato, finely chopped - 2 medium
Ginger Garlic Paste - 3/4 tsp
Cooking Oil - 2 tsp
Coriander leaves for garnish
Turmeric powder a pinch
Garam Masala Powder - 1/2 tsp
Red chilli powder - 1 tsp
Cumin powder - 1 tsp
Bay leaf - 1
Salt to Taste
Ghee - 1 tsp

Wash and soak cauliflower in hot water for 10 mins.
Heat oil in a non stick pan.
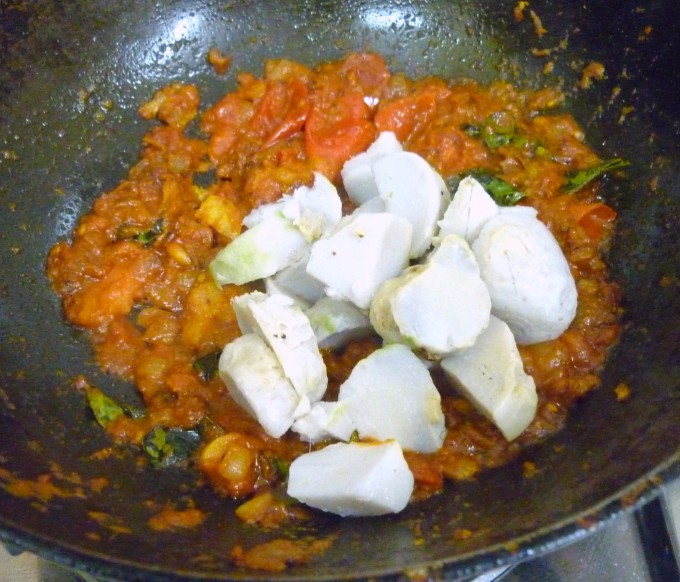
Add bay leaf and onion. Fry till onion turns colour.
Next add tomatoes, ginger-garlic paste, drained cauliflower and peas. Saute well.
Add turmeric, salt, garam masala, chilli powder and jeera powder. mix well everything well and continue cooking.
Then add 1 cup of water and cover with lid and simmer till it gets cooked. Takes about 15 mins
Finally top with ghee and coriander leaves before serving.

If you are running short of time, you can pressure cook the dish.
Potatoes can be added along or just with matar.
Update: Sending this to Priya's Cooking with Seeds Event, featuring Peas
Check out the Blogging Marathon page for the other Blogging Marathoners doing BM# 11